基于vLLM本地部署企业级大模型
1.vLLM
vLLM是伯克利大学LMSYS组织开源的大语言模型高速推理框架,旨在极大地提升实时场景下的语言模型服务的吞吐与内存使用效率。vLLM是一个快速且易于使用的库,用于 LLM 推理和服务,可以和HuggingFace 无缝集成。vLLM利用了全新的注意力算法「PagedAttention」,有效地管理注意力键和值。
2.演示环境
sudo apt update
sudo apt upgrade -y
sudo apt install -y build-essential dkms
sudo update-initramfs -u
NVIDIA GeForce 驱动程序 - N 卡驱动 | NVIDIA
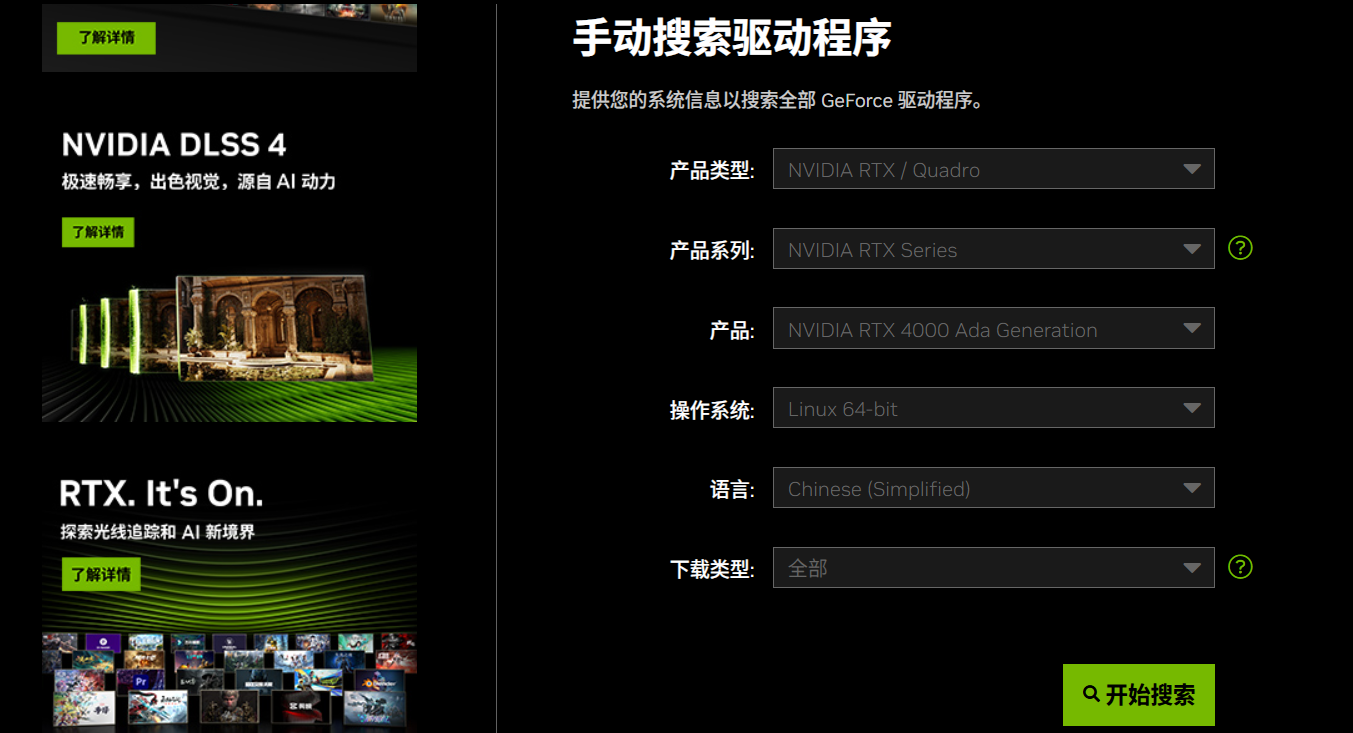
sudo sh NVIDIA-Linux-x86_64-570.124.04.run
apt install -y cuda-drivers
reboot
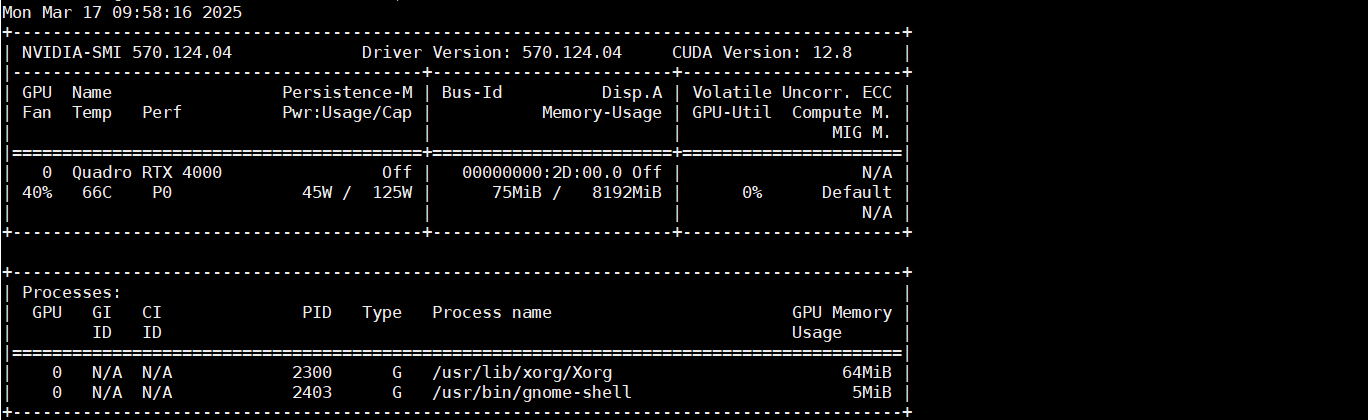
nvidia-smi
2.1 环境设置
2.1.1 install miniconda
Installing Miniconda - Anaconda
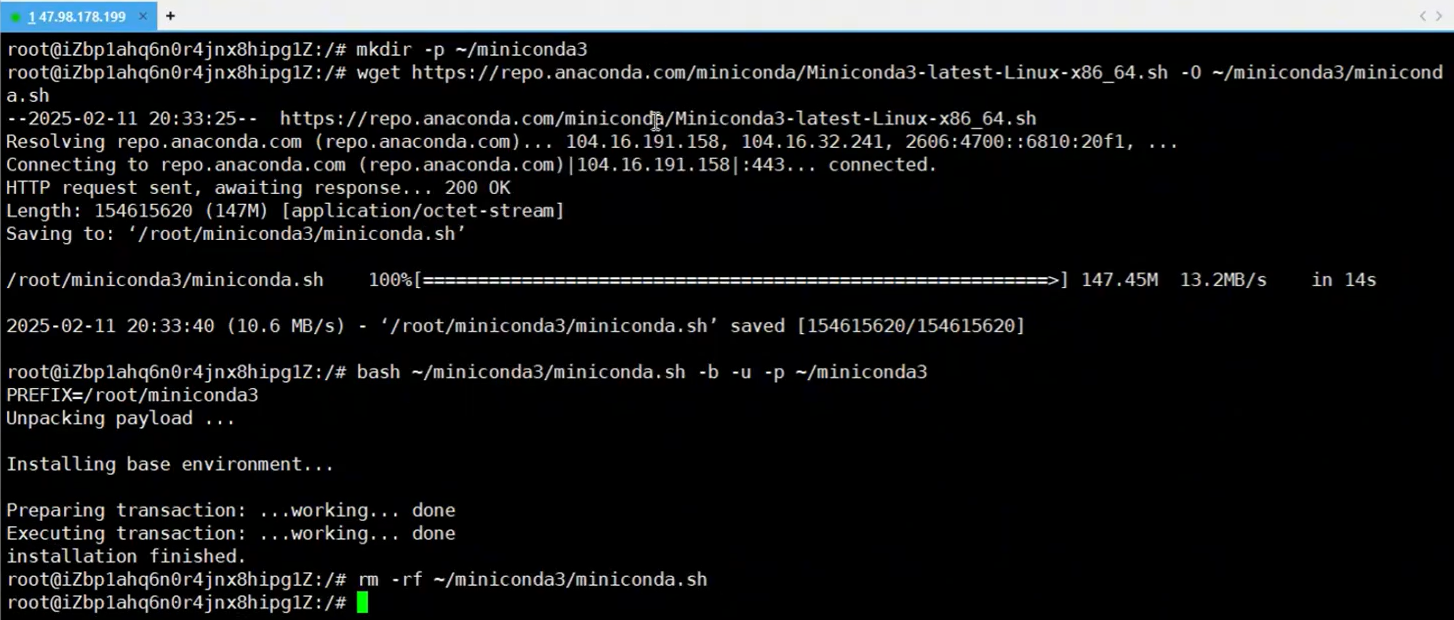
mkdir ~/miniconda3
wget https://repo.anaconda.com/miniconda/Miniconda3-latest-Linux-x86_64.sh -O ~/miniconda3/miniconda.sh
bash ~/miniconda3/miniconda.sh -b -u -p ~/miniconda3
2.1.1 激活miniconda
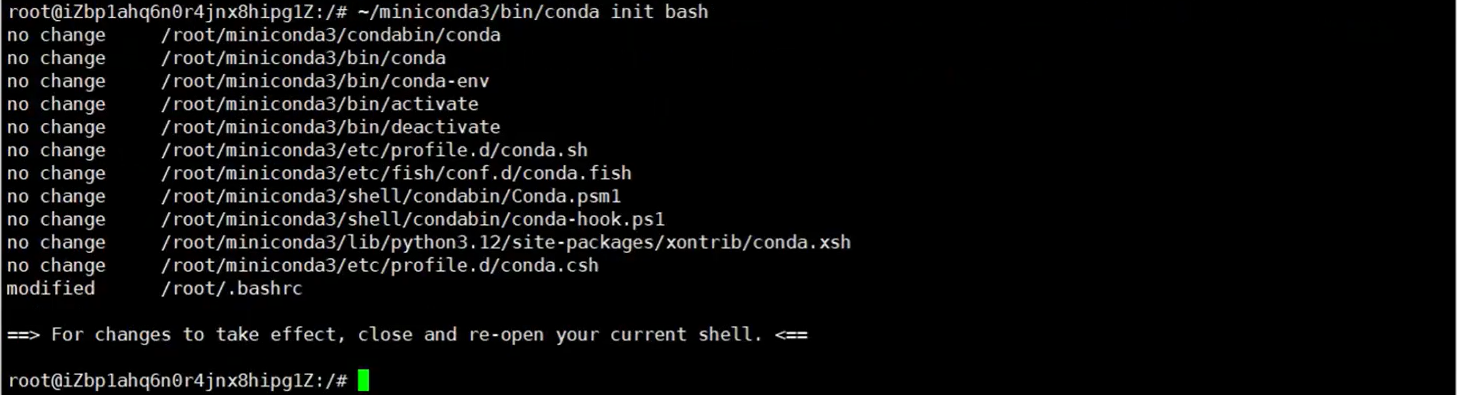
~/miniconda3/bin/conda init bash
source ~/.bashrc
2.1.2 修改镜像源
vim ~/miniconda3/.condarc
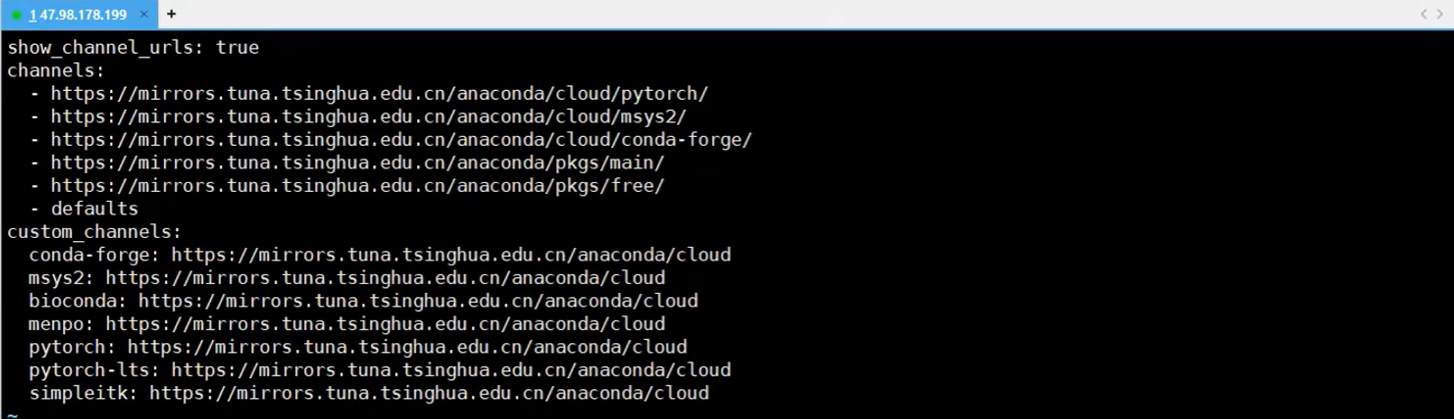
show_channel_urls: true
channels:
  - https://mirrors.tuna.tsinghua.edu.cn/anaconda/cloud/pytorch
  - https://mirrors.tuna.tsinghua.edu.cn/anaconda/cloud/msys2
  - https://mirrors.tuna.tsinghua.edu.cn/anaconda/cloud/conda-forge
  - https://mirrors.tuna.tsinghua.edu.cn/anaconda/pkgs/main
  - https://mirrors.tuna.tsinghua.edu.cn/anaconda/pkgs/free
custom_channels:
  conda-forge: https://mirrors.tuna.tsinghua.edu.cn/anaconda/cloud
  msys2: https://mirrors.tuna.tsinghua.edu.cn/anaconda/cloud
  bioconda: https://mirrors.tuna.tsinghua.edu.cn/anaconda/cloud
  menpo: https://mirrors.tuna.tsinghua.edu.cn/anaconda/cloud
  pytorch: https://mirrors.tuna.tsinghua.edu.cn/anaconda/cloud
  pytorch-lts: https://mirrors.tuna.tsinghua.edu.cn/anaconda/cloud
  simpleitk: https://mirrors.tuna.tsinghua.edu.cn/anaconda/cloud
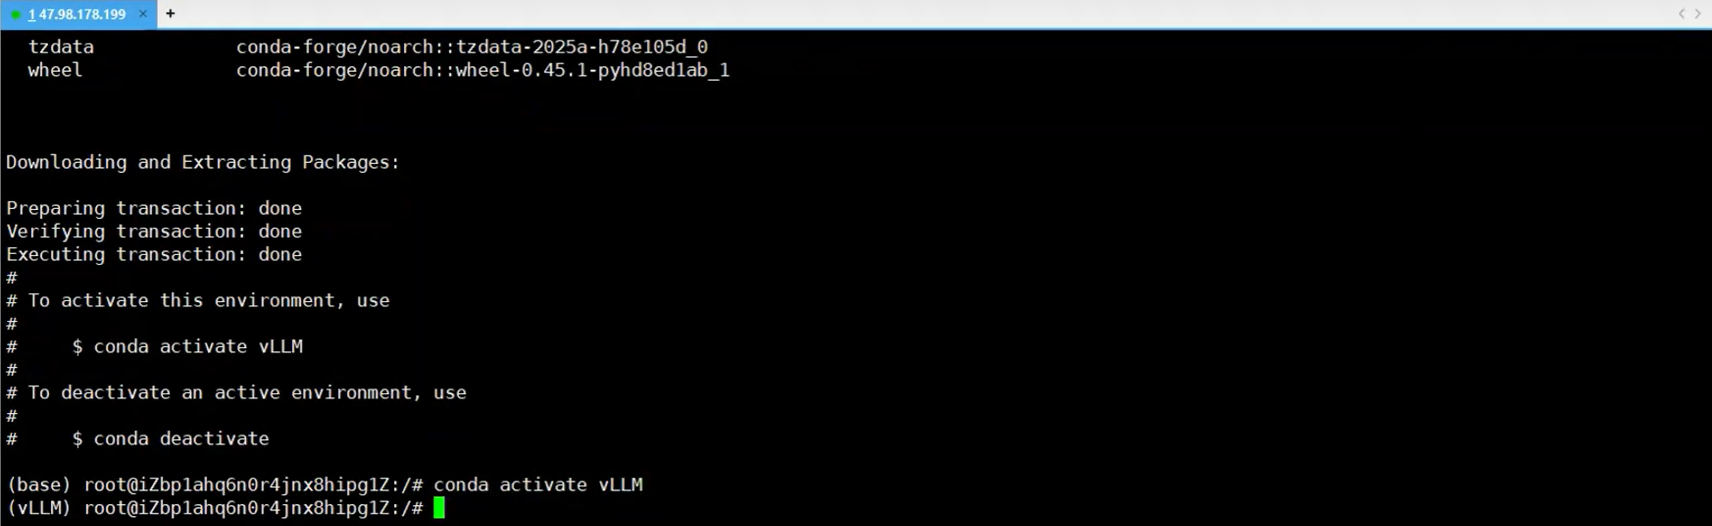
2.1.3 创建conda虚拟环境
conda create --name vLLM python==3.10 -y
conda env list
conda activate vLLM
2.1.4 安装CUDA
CUDA Toolkit Archive | NVIDIA Developer
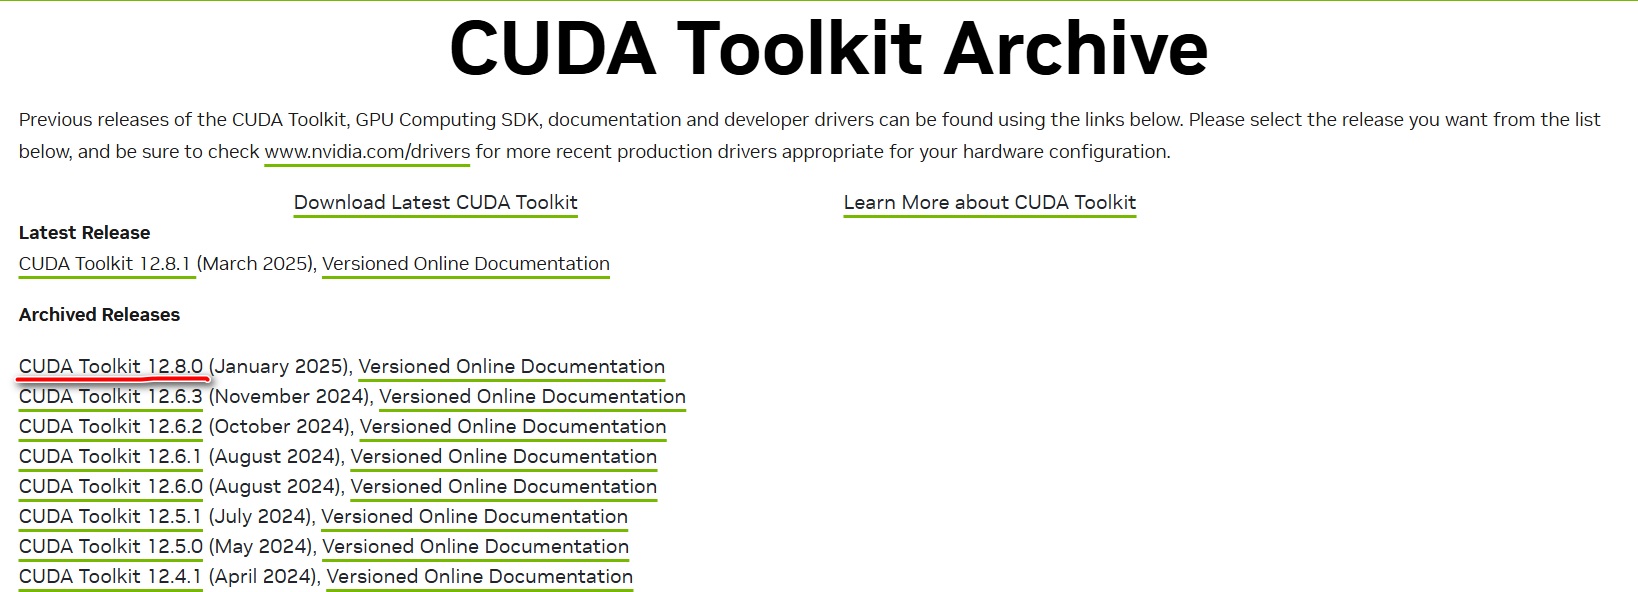

wget https://developer.download.nvidia.com/compute/cuda/12.8.0/local_installers/cuda_12.8.0_570.86.10_linux.run
sudo sh cuda_12.8.0_570.86.10_linux.run
vim ~/.bashrc

export LD_LIBRARY_PATH=$LD_LIBRARY_PATH:/usr/local/cuda-12.8/lib64
export PATH=$PATH:/usr/local/cuda-12.8/bin
export CUDA_HOME=$CUDA_HOME:/usr/local/cuda-12.8

source ~/.bashrc

nvcc --version
2.1.5 安装vLLM
pip install vllm==0.7.2
vllm --version


2.2 部署模型
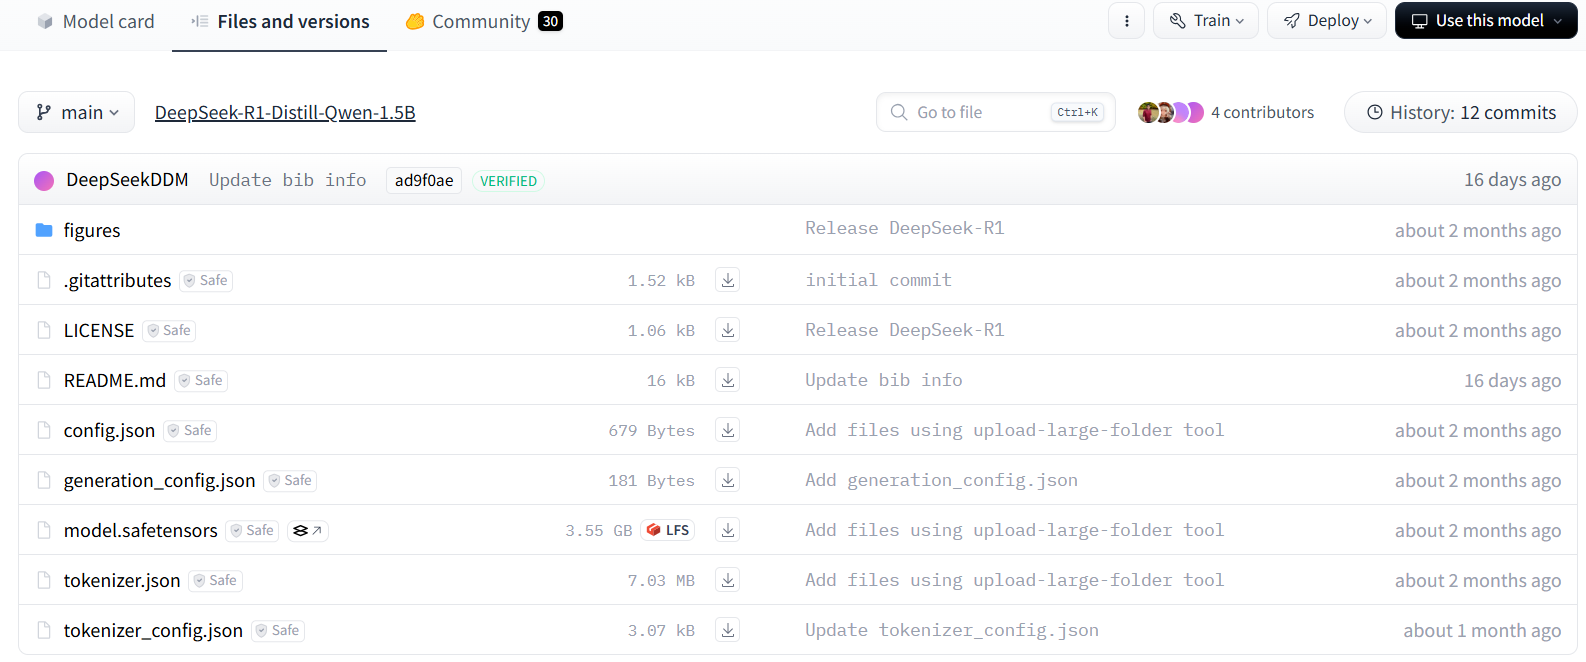
2.2.1 下载模型方式1
deepseek-ai/DeepSeek-R1-Distill-Qwen-1.5B at main
2.2.2 下载模型方式2
conda activate vLLM

pip install modelscope

modelscope download --model deepseek-ai/DeepSeek-R1-Distill-Qwen-1.5B --local_dir /data/models/deepseek-ai/DeepSeek-R1-Distill-Qwen-1.5B
2.2.3 运行
conda activate vLLM

CUDA_VISIBLE_DEVICES=0 vllm serve /data/models/deepseek-ai/DeepSeek-R1-Distill-Qwen-1.5B --tensor-parallel-size 1 --max-model-len 32768 --enforce-eager
参考:
【保姆级教程4】基于vLLM本地部署企业级DeepSee-R1,30分钟手把手教学,小白_码农皆宜!附 - 4_哔哩哔哩_bilibili